Is Your Squat Game Strong? A Beginner’s Guide
The squat. It’s a fundamental movement pattern, essential for everything from picking up groceries to crushing it in the gym. But let’s be honest, mastering proper squat form can feel like solving a Rubik’s Cube. Are you struggling with depth? Maybe your knees are caving in? Or perhaps you’re just unsure where to even begin? This guide is your roadmap to a safer, stronger, and more effective squat.
We’ll break down the squat technique step-by-step, focusing on building a solid foundation and preventing injuries. Forget chasing heavy weights right away. We’re prioritizing perfect form and sustainable progress. Get ready to unlock the power of the squat, no matter your current fitness level! Learn the essentials of the squat for beginners and start your journey today.
The Foundation: Setting Up for Success
Before you even think about loading a barbell, let’s nail the basics. Proper setup is crucial for executing a safe and effective squat.
Foot Placement and Stance
Your stance is the foundation of your squat. Experiment to find what feels most natural and stable for your body.
- Width: Start with your feet shoulder-width apart. Some prefer slightly wider, but shoulder-width is a great starting point.
- Angle: Turn your toes out slightly, about 5-15 degrees. This allows for better hip mobility and depth.
- Weight Distribution: Focus on feeling the weight evenly distributed across your entire foot. Imagine planting roots into the ground.
Actionable Tip: Practice finding your stance in front of a mirror. Note how your body feels in different positions and adjust accordingly.
The Setup Under the Bar (If Applicable)
If you’re using a barbell, proper placement is critical.
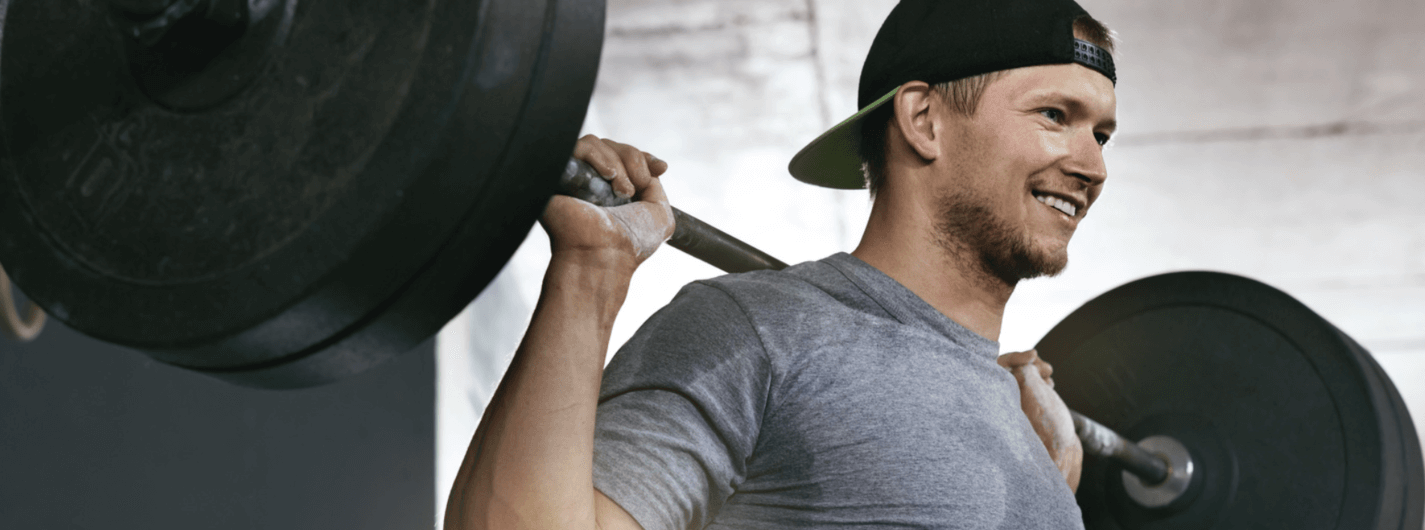
- Bar Placement: For a high-bar squat, the bar sits across your upper traps, just below your neck. For a low-bar squat, it rests lower on your rear deltoids.
- Grip: Use a grip that’s comfortable but secure. A wider grip often allows for a tighter upper back.
- Foot Position: Before un-racking, ensure your feet are directly under the bar.
Example: A common mistake is placing the bar too high, which can put unnecessary strain on the neck.
The Descent: Achieving Proper Squat Depth
Now for the squat itself! This is where many people struggle, often sacrificing form for depth.
Initiating the Movement
Start by taking a deep breath and bracing your core as if you’re about to be punched in the stomach. This creates stability throughout your torso.
- Hinge at the Hips: Initiate the squat by pushing your hips back as if you’re sitting down in a chair.
- Keep Your Chest Up: Maintain a proud chest and focus on a point straight ahead.
- Maintain a Neutral Spine: Avoid rounding or arching your back excessively.
Real-World Application: Think of sitting down into a chair. The motion is very similar!
Achieving Proper Depth
This is a key aspect of good squat form. Depth is important, but not at the expense of safety.
- Target Depth: Aim for at least parallel, meaning your hip crease descends below your knees.
- Listen to Your Body: If you experience pain, stop and re-evaluate your form.
- Gradual Progression: If you can’t reach full depth with good form, work on mobility exercises to improve your range of motion.
Actionable Tip: Record yourself squatting from the side. This will allow you to objectively assess your depth and identify any issues.
Common Errors During the Descent
Be aware of these frequent mistakes so you can avoid them.
- Knee Valgus (Knees Caving In): Focus on pushing your knees out as you descend.
- Rounding of the Back (Butt Wink): Improve hip mobility and core stability.
- Leaning Too Far Forward: Engage your glutes and hamstrings to maintain balance.
The Ascent: Standing Back Up Strong
The ascent is just as important as the descent. Maintain control and focus.
Driving Upward
- Engage Your Glutes: Squeeze your glutes and drive through your heels to stand back up.
- Maintain Core Engagement: Keep your core braced throughout the entire movement.
- Maintain Chest Up: Don’t let your chest collapse as you stand.
Example: Imagine pushing the floor away from you with your feet.
Locking Out
Complete the movement by fully extending your hips and knees. Avoid hyperextending your knees.
Troubleshooting Common Squat Issues
Even with perfect instruction, you might run into some snags. Here are solutions to common problems:
- Limited Ankle Mobility: Perform ankle stretches and consider using weightlifting shoes with a raised heel.
- Tight Hips: Incorporate hip-opening exercises like pigeon pose and frog stretch.
- Weak Core: Strengthen your core with planks, bird dogs, and dead bugs.
Remember, consistency is key. Don’t be discouraged if you don’t get it right away. Focus on gradual progress and celebrate small victories!
Prioritize Safety and Long-Term Progress
Always listen to your body. If you experience pain, stop and consult with a qualified healthcare professional. Remember, mastering proper squat technique is a journey, not a race.
Ready to Squat Smarter, Not Harder?
Congratulations! You’ve now got the knowledge to start mastering your squat form. Remember the key takeaways: prioritize proper setup, focus on controlled movements, and listen to your body. By focusing on these principles, you’ll be well on your way to a stronger, healthier, and more powerful squat.
Now, it’s time to put this knowledge into practice. Head to the gym, start with bodyweight squats, and gradually add weight as your form improves. Share your progress in the comments below – we’d love to hear about your journey! Don’t forget to share this article with your friends and family who are looking to improve their squat for beginners!
Want to Learn More?
If you’re looking for personalized guidance, check out our guide on movement coaching.
